Here we will set up Mail to send and receive our KKoncepts email account. We'll use an imaginary user named "K. Koncepts" who has the email address. "k.koncepts@kkoncepts.net". Anywhere you see those name, you should, of course, use your own name and email address.
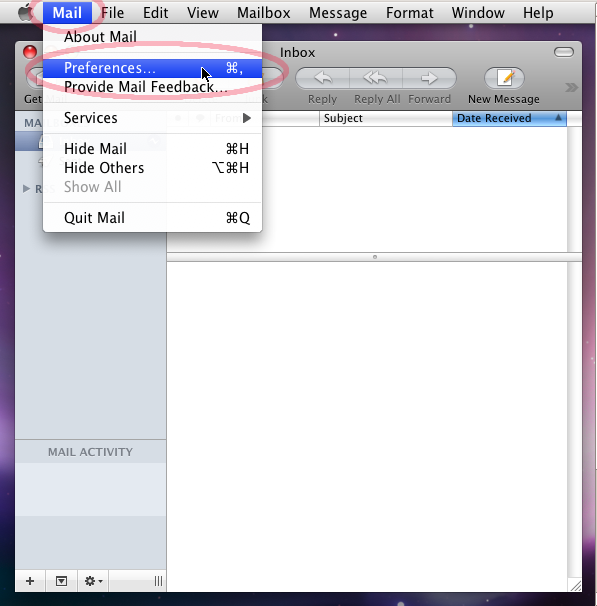
To begin, open Apple Mail and choose "Preferences" from the "Mail" menu. (Throughout this document, we'll highlight in light-red ovals where on the screen you should click or enter information.)
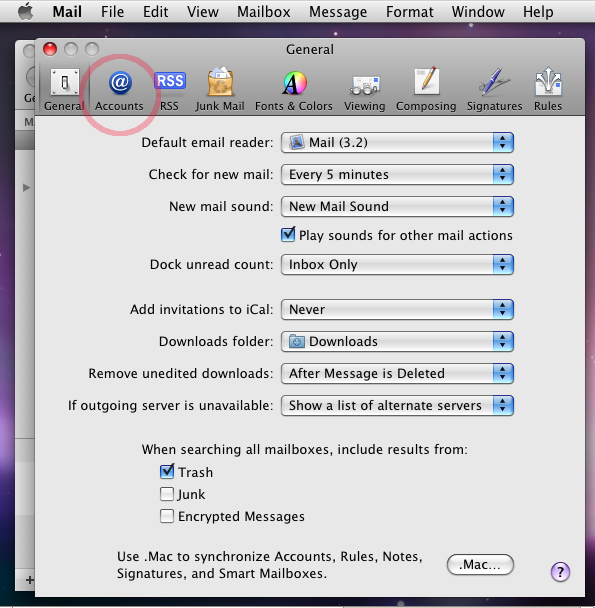
Then in the "Preferences" box which appears, click on the "Accounts" icon along the top.
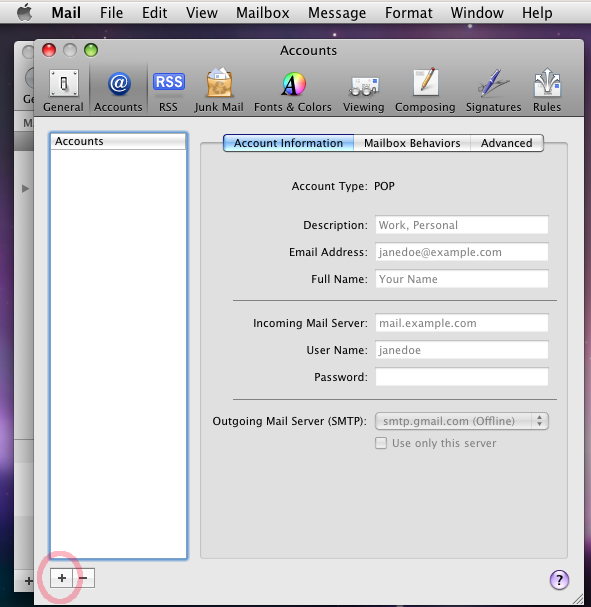
Click on the small "Plus" icon ("+") at the bottom left to create a new account.
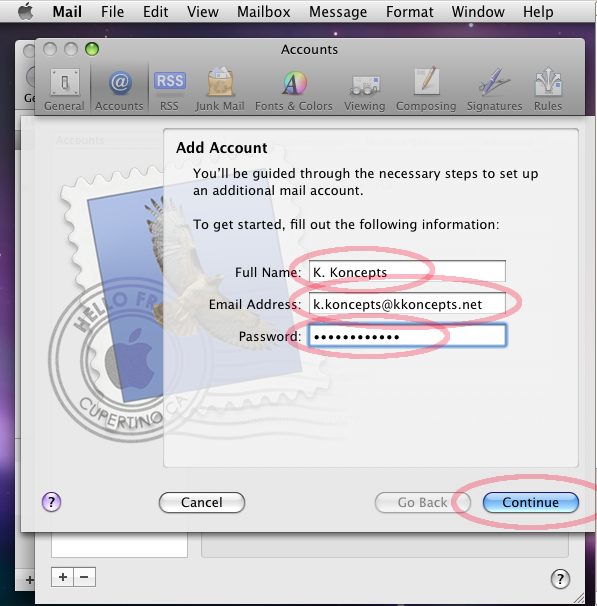
This will bring up the "Add Account" wizard. On the first page enter your name, your email address, and your email password into the three fields. (Your name will appear as the "From" address in messages you send to others.) Here we have entered the name of our imaginary user "K. Koncepts" as well as their email address and password.
Once you have entered in this information, click the "Continue" button.
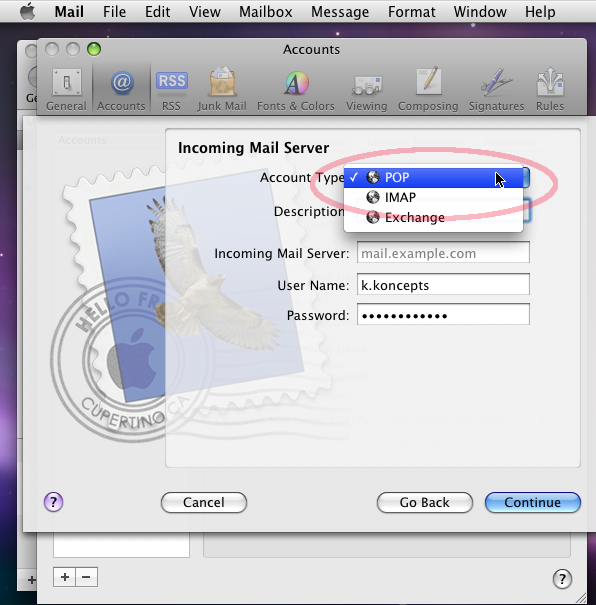
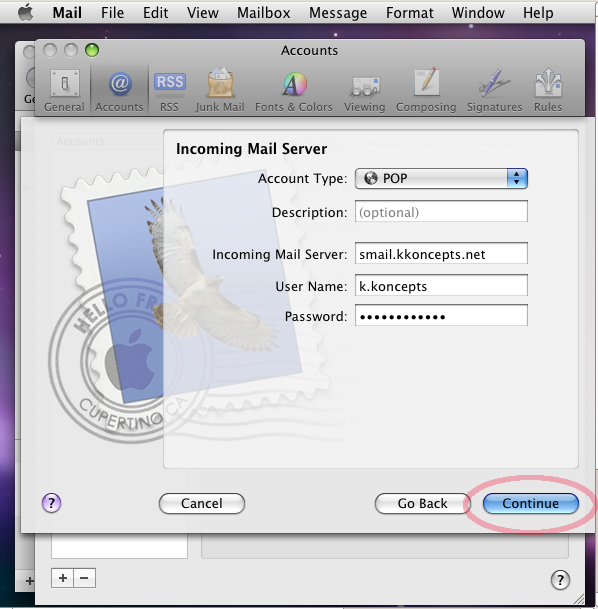
On the next screen, select the first item, "Account Type", and choose whether you want a "POP" or "IMAP" account. (If you are not sure, select "POP".)
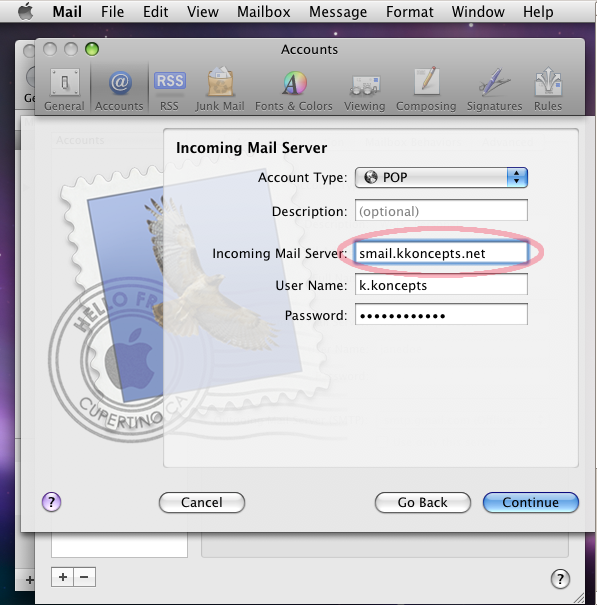
Then click on the field labeled "Incoming Mail Server" and enter "smail.kkoncepts.net".
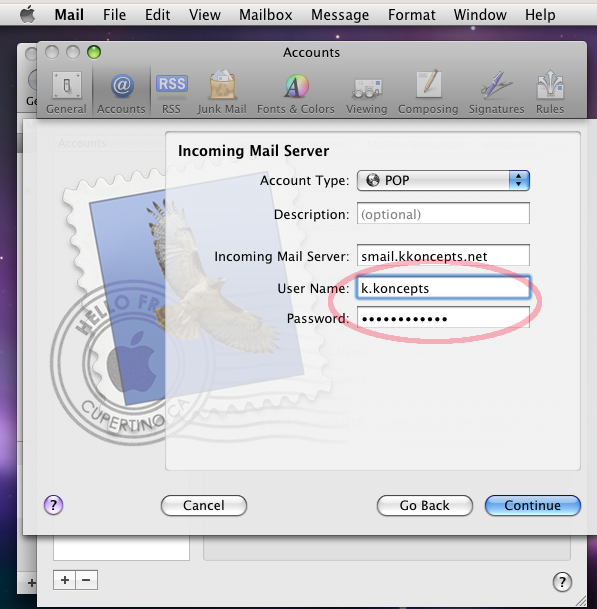
Your username and password will already be filled in from the first screen. If your email account ends in "@kkoncepts.net", then leave the settings as they are. In the following screen shot, because our email account is "k.koncepts@kkoncepts.net" and therefore ends in "@kkoncepts.net" we leave our User Name as simply "k.koncepts".
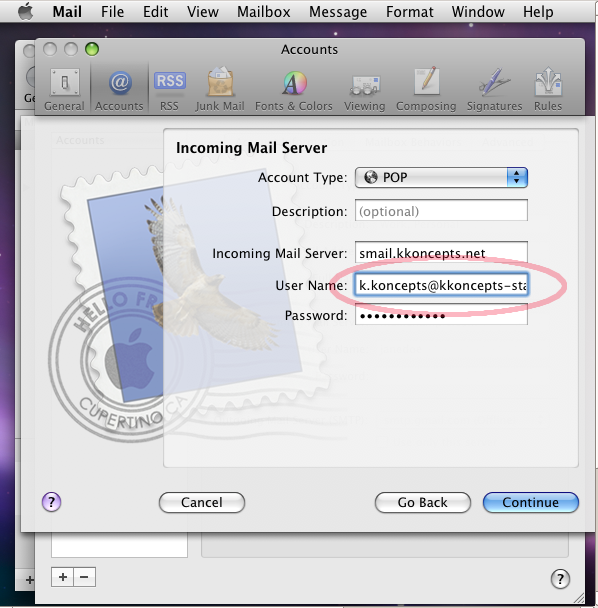
But if our email account does not end in "@kkoncepts.net", then you need to change the "User Name" field to be your full email account. In the following screen shot, we are setting up the email account "k.koncepts@kkoncepts-staff.com". Since this address does not end in "@kkoncepts.net", we enter the full email address into the "User Name" field.
Once you have set your User Name properly, click the "Continue" button.
In the "Incoming Mail Security" page, check the box which says "Use Secure Sockets Layer (SSL)". Set the "Authentication" drop-down box to "Password". Then click "Continue".

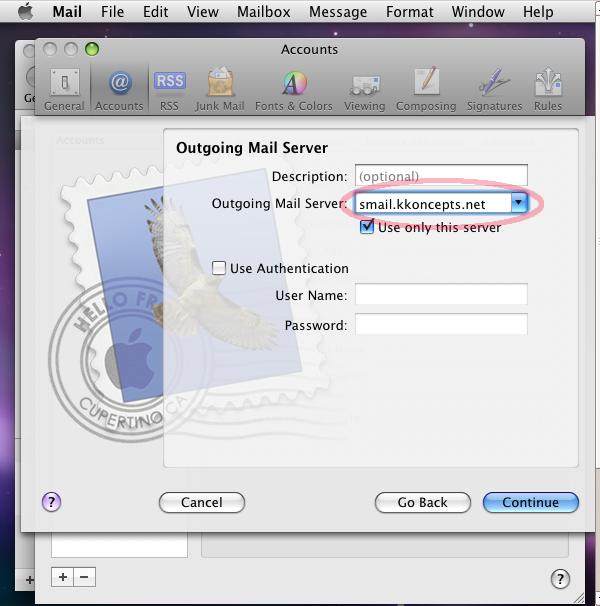
On the "Outgoing Mail Server" field, click on the "Outgoing Mail Server" field and enter "smail.kkoncepts.net".
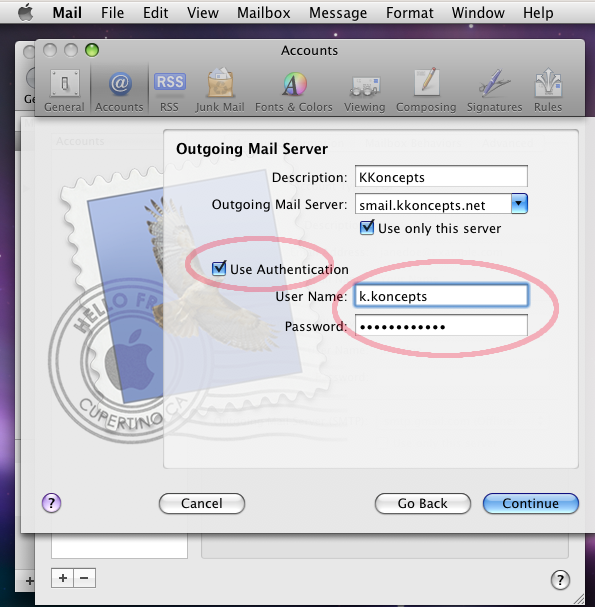
Then check the box below which says "Use Authentication". Enter your email User Name and Password into the two feilds. Remember that if you email address ends in "@kkoncepts.net", your User Name is your email address without the "@kkoncepts.net". In the following screen shot we enter simply "k.koncepts" as our User Name since the address does end in "@kkoncepts.net".
But if your email address does not end in "@kkoncepts.net", then enter in your full email address as your User Name. In the following screen shot we are setting up the account "k.koncepts@kkoncepts-staff.com", so we enter in the complete email address for the User Name field.

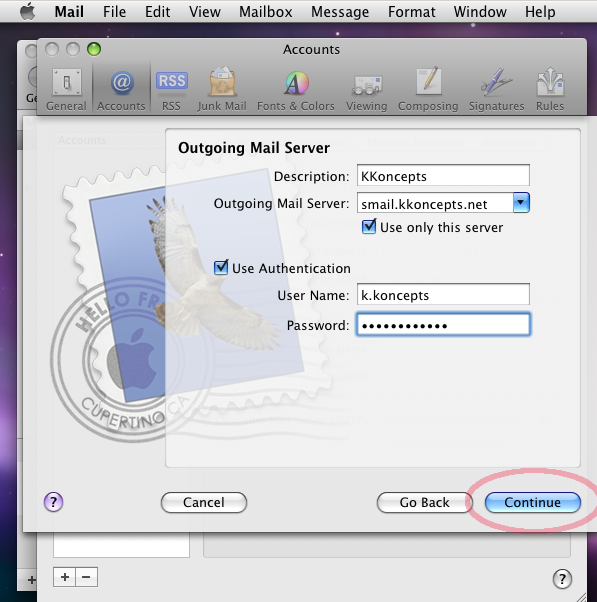
Once you've entered all this information, click the "Continue" button.
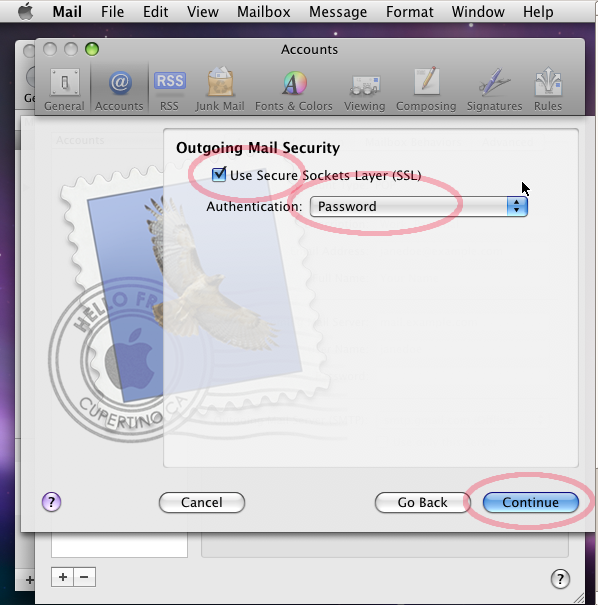
On the "Outgoing Mail Security" page, check the box which says "Use Secure Socket Layer (SSL)". Then select "Password" from the "Authentication" drop-down box. Then click the "Continue" button.
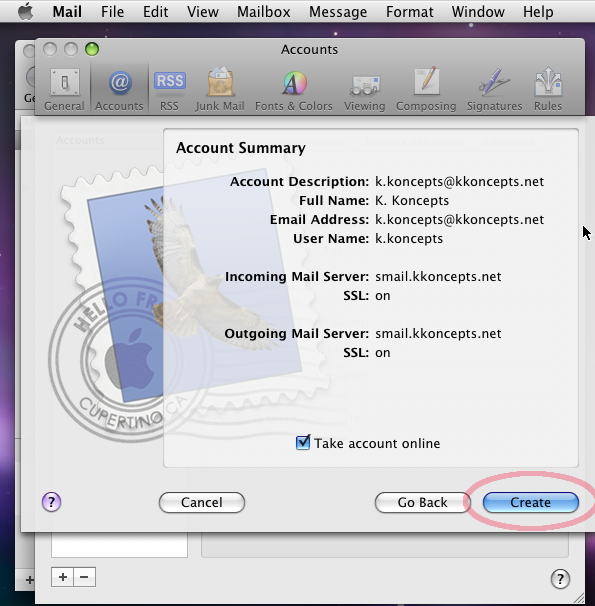
Now on the "Account Summary" page, click the "Create" button so Apple Mail can create the email account from the information that you have just entered.
Now you will see the account you just created in the list of accounts down the left-hand side. Click the red "Close" button in the upper left-hand corner to close the "Preferences" window. Your KKoncepts email account is now set up and you can send and receive mail through it.
